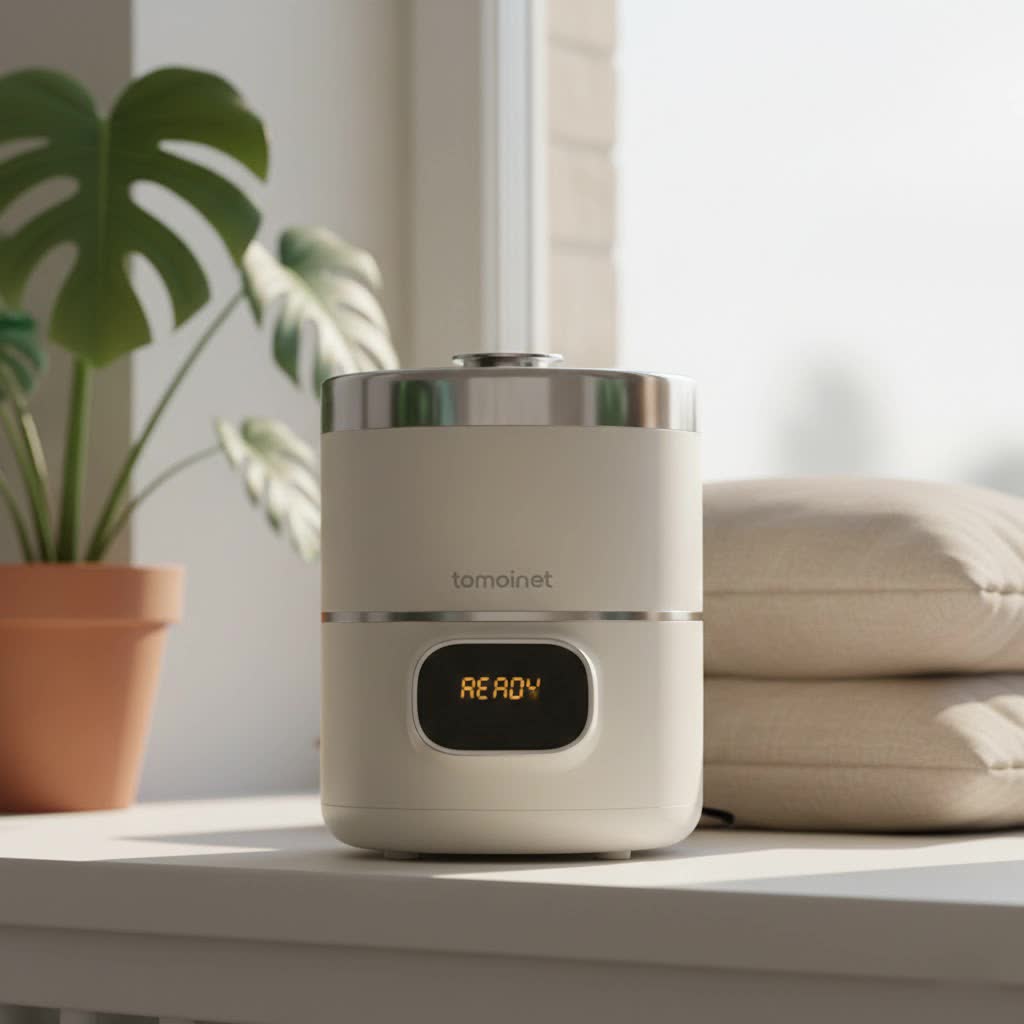
Have you ever savored the rich, creamy texture and vibrant tang of truly fresh yogurt, far surpassing anything from a store shelf? With a yogurt maker, that delightful experience is within your grasp, transforming your kitchen into a hub of wholesome goodness. Whether you’re a seasoned foodie or just starting your culinary journey, a yogurt maker simplifies the process of creating delicious, nutritious homemade yogurt, tailored exactly to your taste. This comprehensive guide will explore everything you need to know, from understanding different types of machines to mastering the art of perfect fermentation.
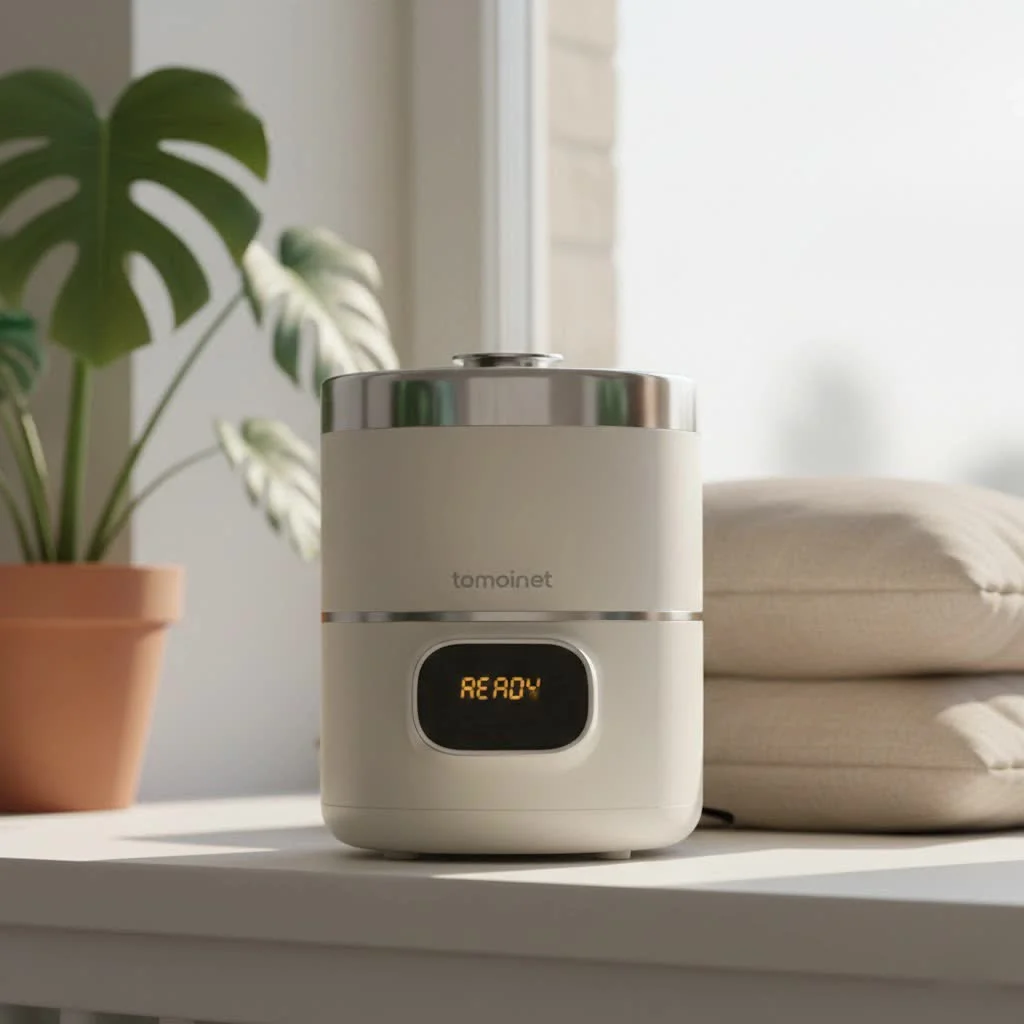
Unlocking Homemade Goodness: Everything About Yogurt Makers
What is a Yogurt Maker? Why Do You Need One?
A yogurt maker is a specialized kitchen appliance designed to create homemade yogurt by maintaining a consistent, warm temperature, allowing beneficial bacteria to ferment milk. This controlled environment is crucial for the starter cultures to thrive, converting lactose into lactic acid, which thickens the milk and gives yogurt its characteristic flavor.
The benefits of making your own yogurt are abundant. Firstly, it offers significant cost savings compared to regularly purchasing store-bought varieties. Beyond economics, you gain complete control over the ingredients, ensuring your yogurt is free from excessive sugars, artificial flavors, and preservatives often found in commercial products. This translates to a healthier option, packed with more potent probiotics that support gut health and overall well-being. Homemade yogurt is also a rich source of essential nutrients like calcium, phosphorus, potassium, and various B vitamins, along with high-quality protein. Plus, by using reusable containers, you contribute to a more sustainable kitchen, reducing plastic waste.
Popular Types of Yogurt Makers Today
The market offers a range of yogurt makers, each with distinct features to suit different preferences and lifestyles.
-
Manual Yogurt Makers: These are typically simple, non-electric devices, often relying on insulation (like a vacuum flask) or a stable warm environment (like a pilot light in an oven) to maintain fermentation temperature.
- Pros: Generally very affordable, straightforward design, and energy-efficient as they use little to no electricity.
- Cons: Less precise temperature control, which can lead to inconsistent results, and often requires longer incubation times.
-
Electric/Automatic Yogurt Makers: These are the most common type, featuring heating elements and often digital controls for precise temperature and time settings. Many come with multiple individual jars or a single large container.
- Pros: Offer accurate temperature control, ensuring consistent and reliable fermentation. Many include timers and automatic shut-off functions to prevent over-fermentation. They are user-friendly and deliver predictable results.
- Cons: Typically higher in price than manual models and might be slightly more complex to operate due to digital settings.
-
Multi-functional Appliances (e.g., Instant Pot): Many modern multi-cookers, like the Instant Pot, include a dedicated “yogurt” setting. These appliances leverage their precise heating capabilities for fermentation.
- Pros: Extremely versatile, serving multiple kitchen functions beyond just yogurt making, saving counter space. They are often good at maintaining consistent temperatures.
- Cons: While versatile, they might not be as specialized or user-friendly for yogurt as dedicated makers. Capacity can sometimes be a single large batch, not individual servings.
-
Dedicated Greek Yogurt Makers/Strainers: While not fermentation devices themselves, these are essential for making thick, creamy Greek yogurt. They are typically simple straining systems (often with mesh filters) designed to separate whey from fermented yogurt.
- Pros: Efficiently produce thick Greek yogurt, easy to use and clean.
- Cons: They require already fermented yogurt; they don’t make the yogurt from scratch.
Comparing Yogurt Makers: A Detailed Chart
|
Our Picks for the Best Yogurt Maker in 2026
As an Amazon Associate I earn from qualifying purchases.
|
||
| Num | Product | Action |
|---|---|---|
| 1 | Stainless Steel Yogurt Maker with 1 Quart Glass Jar and Complete Recipe Book to Make 12+ Easy Homemade Dairy Free and Milk Yogurts |

|
| 2 | Yogurt Maker Machine with 3 Functions (Yogurt, Rice Wine & Natto), Adjustable Temperature & Time Control, 1.2L Capacity, Automatic Shut-Off & PTC Heating for Homemade Probiotic & Greek Yogurt |
|
| 3 | Yogurt Maker with Adjustable Temperature & 48H Timer - 6 Glass Jars for Homemade Probiotic Yogurt, for Family Wellness & Healthy Diet Lovers |
|
| 4 | Yogurt Maker with Timer and Temperature Control, Fully Automatic for Home Use. Perfect for Making Greek Yogurt and Probiotic Yogurt, Equipped with an Automatic Shut-off Function |
|
| 5 | Suteck Yogurt Maker - Stainless Steel Yogurt Makers with Adjustable Time & Temp Control,Automatic Shut-Off & Constant Temper for Homemade Greek, Probiotic Yogurt, BPA-Free 8 Glass Jars (48 oz), Black |
|
| 6 | Yogurt Maker with Two Containers, Yogurt Maker Machine with Adjustable Temperature & Time Control, Automatic Shut-Off & Constant Temper for Homemade Probiotic Yogurt, Promoting Gut Health |
|
| 7 | 5L Black Garlic Fermenter, Yogurt Maker with Adjustable Temperature & Time Control,Garlics Maker Multi, Clove Garlic Cooker, Kimchi machine,Sweet Rice Wine Maker Full Automatic,Natto Makers |
|
| 8 | Euro Cuisine YM80 Electric Yogurt Maker Machine- Promote Gut Health with Probiotic Rich Homemade Yogurt -Home Yogurt Incubator with Glass Jars, White |
|
| 9 | Suteck Yogurt Maker - Stainless Steel Yogurt Makers with Adjustable Time & Temp Control,Automatic Shut-Off & Constant Temper for Homemade Greek, Probiotic Yogurt, BPA-Free 2 Yogurt Bowls (2 Quart) |
|
| 10 | GDOR Yogurt Maker with Adjustable Temp & Timer– Probiotic-Rich – Digital Greek Yogurt Machine with 8×6oz BPA-Free Glass Jars, Easy to Use for Home, Stainless Steel |
|
Here’s a comparison to help you understand the differences:
| Type | Price Range (USD) | Capacity | Key Features | Ideal User |
|---|---|---|---|---|
| Manual | $15 – $30 | 1-2 Quarts (approx.) | Insulation, simple, no electricity | Budget-conscious, occasional maker |
| Electric/Automatic | $25 – $70 | 1-2 Quarts (7-8 jars or 1 large) | Precise temp/timer, auto-shutoff | Regular maker, consistent results needed |
| Multi-functional | $70 – $150+ | 3-8 Quarts | Versatility (pressure cook, sauté) | Space-saving, multi-purpose user |
| Greek Yogurt Stainer | $15 – $40 | 1-2 Quarts | Whey separator, dedicated for Greek | Greek yogurt lovers, enhances texture |
Top 5 Yogurt Makers for 2024
Based on current reviews and popular choices, these models stand out for their performance and features:
- Euro Cuisine Automatic Digital Yogurt Maker YMX650: This model is frequently praised for its ease of use and consistent results. It comes with seven 6-ounce glass jars, making portion control and flavor customization simple. The digital timer and automatic shut-off feature are highly convenient, preventing over-fermentation and ensuring perfect tanginess every time.
- Euro Cuisine Electric Yogurt Maker YM80: A more budget-friendly option from the same trusted brand, the YM80 is an excellent choice for basic yogurt making. It also includes seven individual glass jars and is celebrated for its straightforward operation, producing quality yogurt consistently, though it lacks the automatic shut-off of its digital counterpart.
- Ultimate Probiotic Yogurt Maker: Known for its versatility and capacity, this machine is often recommended for those looking to make larger batches or experiment with different yogurt types. It typically offers good temperature control and a robust design for frequent use.
- Hatrigo 2 Quart Inner Capacity Greek Yogurt Maker: For those specifically desiring thick, strained Greek yogurt, this is a top-rated straining tool. While it doesn’t ferment the yogurt, its efficient design makes separating whey a breeze, transforming regular yogurt into a rich, dense Greek style.
- Instant Pot Duo 6-Quart Multi-Use Pressure Cooker V5: While primarily a multi-cooker, the Instant Pot Duo’s yogurt function is highly effective and a favorite for its versatility. If you already own one or are considering a multi-purpose appliance, its ability to perfectly incubate yogurt is a significant bonus, simplifying the process for many users.
How to Choose the Right Yogurt Maker for You
Selecting the perfect yogurt maker depends heavily on your individual cooking habits and preferences.
Determine Your Usage Needs:
- Who are you making yogurt for? For a single person or small portions, a machine with individual jars is ideal. For a larger family or frequent use, a model with a big batch container or higher capacity is more practical.
- What type of yogurt do you prefer? Most machines handle traditional yogurt well. If Greek yogurt is your staple, consider a dedicated strainer or a machine that produces a thicker consistency naturally.
- What is your budget? Prices vary significantly, from basic manual options to advanced digital machines.
Key Factors to Consider:
- Capacity: Do you need single servings or a large quantity? Some machines come with multiple 6-ounce jars, while others have one large 1-2 quart container.
- Temperature Control: Consistent temperature (around 108-115°F or 42-46°C) is paramount for successful fermentation. Look for models with accurate thermostats.
- Material: Glass jars are often preferred for cleanliness and not imparting flavors, though BPA-free plastic is also common.
- Features: Digital timers, automatic shut-off, and clear lids for monitoring are convenient additions.
- Brand & Durability: Reputable brands often indicate better quality and reliability.
- Price: Balance features with your budget.
Read Reviews and Compare Prices: Before making a purchase, always consult recent reviews from other users. Pay attention to feedback regarding consistency, ease of cleaning, and any common issues. Compare prices across different retailers to ensure you’re getting the best value.
Step-by-Step Guide to Using Your Yogurt Maker
Making yogurt at home is a rewarding process, and most yogurt makers simplify it significantly. While specific instructions may vary slightly by model, here’s a general workflow:
- Prepare Your Ingredients: You’ll need fresh milk (whole or 2% is often recommended for best texture) and a starter culture. The starter can be a few tablespoons of plain, unflavored yogurt with live active cultures (ensure it’s fresh!) or a powdered yogurt starter. You might also want sugar, honey, or other flavorings, which are typically added after fermentation.
- Sanitize Equipment: Thoroughly wash and sterilize all equipment that will touch the milk or yogurt, including the pot, whisk, thermometer, and yogurt maker containers, to prevent unwanted bacteria.
- Heat the Milk: Pour the milk into a saucepan and heat it to 180-185°F (82-85°C). This step denatures milk proteins, making the yogurt thicker, and eliminates any competing bacteria. Stir occasionally to prevent scorching.
- Cool the Milk: Remove the milk from the heat and allow it to cool to the ideal inoculation temperature, typically between 108-115°F (42-46°C). It’s crucial not to add the starter when the milk is too hot, as it will kill the beneficial bacteria.
- Mix in the Starter: Once the milk reaches the correct temperature, whisk a small amount of the lukewarm milk with your starter culture in a separate bowl until smooth. Then, thoroughly mix this starter mixture back into the main batch of milk.
- Incubate: Pour the milk-and-starter mixture into your yogurt maker’s containers. Place the containers (usually without lids during incubation) into the yogurt maker, cover the machine, and set the timer for 6 to 12 hours, depending on your desired tanginess and thickness. Avoid disturbing or moving the machine during this incubation period.
- Chill and Store: Once the incubation cycle is complete, remove the containers from the yogurt maker. Place lids on them and refrigerate for at least 3 hours to allow the yogurt to fully set and cool.
Expert Tips for Delicious Homemade Yogurt
Achieving consistently delicious homemade yogurt is an art, but these tips can help:
- Choose Quality Milk: The quality of your milk directly impacts the final product. Full-fat or 2% milk often yields creamier results. Experiment with different types like whole milk, skim, or even non-dairy alternatives, though consistency may vary.
- Fresh and Active Starter: Always use a fresh starter culture with live, active bacteria. If using store-bought yogurt, check the expiration date. Using powdered starter ensures a consistent bacterial blend.
- Maintain Temperature Consistency: The most critical factor is keeping the milk at a stable temperature during fermentation. Fluctuations can hinder bacterial growth, leading to runny yogurt.
- Flavor After Fermentation: For the best results, add fruits, sweeteners, jams, or other flavorings after the yogurt has finished incubating and chilled. Adding them too early can interfere with the fermentation process.
- Thicker Yogurt Secret: For an extra thick consistency, consider adding 1/4 to 1/2 cup of powdered milk per quart of liquid milk before heating. For Greek yogurt, strain the finished yogurt through a cheesecloth-lined colander in the refrigerator for several hours to remove excess whey.
Common Yogurt Making Problems and Solutions
Even with a yogurt maker, you might encounter a few hurdles. Here are common issues and how to fix them:
- Runny Yogurt: This is often due to the milk not being heated high enough initially, the starter culture being old or inactive, or the incubation temperature being too low or inconsistent. Ensure your milk reaches 180°F, use fresh starter, and verify your yogurt maker’s temperature. Disturbing the yogurt during fermentation can also prevent it from setting.
- Yogurt is Too Sour: Over-fermentation is the usual culprit. The longer yogurt ferments, the more lactic acid is produced, increasing tartness. Reduce your incubation time by an hour or two on the next batch.
- Whey Separation: A yellowish liquid on top of your yogurt is whey, and it’s completely normal. Whey contains nutrients and protein, and you can simply stir it back into the yogurt. If you prefer a thicker consistency, like Greek yogurt, you can strain the whey out using a cheesecloth or a dedicated Greek yogurt strainer.
Proper Cleaning and Maintenance for Your Yogurt Maker
To ensure the longevity and hygiene of your yogurt maker, proper care is essential:
- Clean After Each Use: Promptly clean all parts that come into contact with milk or yogurt immediately after use. This prevents food residue from hardening and makes cleaning easier.
- Hand Wash Components: Most jars, lids, and removable inner containers are dishwasher- safe, but check your manual. The main heating unit should typically be wiped clean with a damp cloth, never submerged in water.
- Store Properly: Ensure all components are completely dry before reassembling and storing your yogurt maker in a cool, dry place.
- Avoid Harsh Abrasives: Do not use abrasive cleaners or scouring pads, as they can scratch surfaces and potentially damage the machine.
Where to Buy a Reliable Yogurt Maker
Finding a good yogurt maker is easier than ever. You can typically find a wide selection at:
- Large Electronics and Appliance Stores: Retailers like Best Buy, Target, or Walmart often stock various models.
- Online Marketplaces: Amazon, eBay, and directly from brand websites (e.g., Euro Cuisine, Dash) offer extensive choices and often competitive pricing.
- Specialty Kitchen and Home Goods Stores: Stores like Williams Sonoma or Sur La Table might carry higher-end or unique models.
Always check for warranty information and return policies before purchasing.
Important Safety Tips for Yogurt Maker Use
Safety should always be a priority when using any electrical appliance:
- Read the Manual: Always read your specific yogurt maker’s instruction manual thoroughly before first use. It contains crucial safety guidelines and operational procedures unique to your model.
- Inspect for Damage: Before each use, visually inspect the power cord and the appliance itself for any signs of damage. Do not use if any part is compromised.
- Keep Out of Reach of Children: Ensure the yogurt maker is placed on a stable surface and kept out of reach of children and pets during operation and storage.
- Proper Electrical Use: Plug the appliance directly into a wall outlet; avoid using extension cords if possible. Ensure your hands are dry when plugging or unplugging the unit.
- Never Submerge the Base: The main electrical unit should never be submerged in water. Clean it with a damp cloth as instructed.
In conclusion, investing in a yogurt maker opens up a world of culinary possibilities, allowing you to enjoy fresh, healthy, and customizable yogurt right from your own kitchen. The satisfaction of crafting your own creamy batches, free from unwanted additives, is unmatched. Why not take the first step towards a healthier, tastier routine today?
Cooking gear we tested in our own kitchens
Free PDF — preheat times measured on 10 popular air fryers.
